
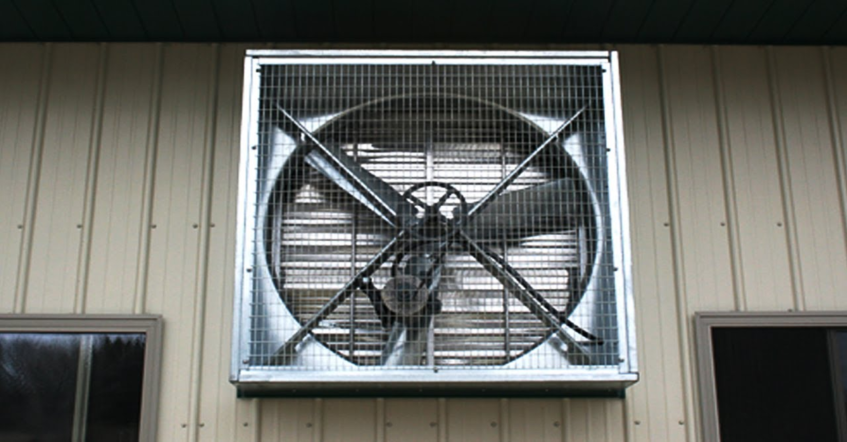
Maintaining cleanliness and efficiency in a commercial kitchen is of utmost importance. Here, a commercial exhaust fan plays a vital role in preserving freshness and efficiency. It diligently clears the air, whisking away steam, odours, and the byproducts of culinary creativity.
However, like any other indispensable equipment, the exhaust fan may begin to show signs of wear over time. But fear not!
Our comprehensive guide is here to navigate you through the process of replacing the motor in your restaurant exhaust fan, ensuring that it continues to pulse with efficiency.
Keeping a vigilant eye on your exhaust fan is important to ensure it operates at its peak performance. Recognising the signs that indicate your exhaust fan motor or commercial kitchen exhaust hoods might be due for replacement is key to preventing potential disruptions in your kitchen’s efficiency.
One of the first indicators that your commercial exhaust fan motor might need replacement is a noticeable decrease in performance. If the fan is no longer effectively clearing out steam, odours, or cooking byproducts, it’s time to investigate further.
An exhaust fan is supposed to operate smoothly and quietly; however, if you start hearing unusual noises, such as grinding, squealing, or rattling, it can indicate that something is not functioning properly. These noises often indicate mechanical issues within the motor, signalling the need for prompt attention.
Keeping an eye on your energy bills is also equally important. If you notice a sudden spike in your energy consumption without a corresponding increase in kitchen activity, it could be because of an inefficient exhaust fan motor. As the motor wears out, it may require more energy, leading to higher electricity costs.
Replacing your commercial kitchen exhaust fan motor requires technical know-how and a steadfast commitment to safety. Before diving into the hands-on aspect of the kitchen exhaust fan replacement process, let’s underscore the critical safety precautions that should be observed.
Before commencing any replacement activities, prioritise safety by ensuring the power to the exhaust fan is completely turned off before commencing any replacement activities.
Ensure the kitchen space is adequately ventilated to disperse any potentially harmful fumes or airborne particles.
Before beginning the replacement process, ensure you and your team are equipped with the necessary gear. This may include safety goggles, gloves, and if warranted by the specific circumstances, respiratory protection.
To successfully replace your commercial kitchen exhaust fan motor, having the right tools and equipment on hand is paramount. Let’s streamline the essentials for a hassle-free motor replacement:
Equipping yourself with this concise list of tools and understanding the types and specifications of replacement motors ensures a smooth transition in your exhaust fan motor replacement process.
Navigating through the process of exhaust fan motor replacement can sometimes cause roadblocks, such as
Ensure the replacement motor aligns with the specifications and requirements of your exhaust fan.
Whether you’re gearing up for a DIY project or considering professional help, the steps outlined here ensure a smooth transition. Don’t let a worn-out motor disrupt your culinary haven; follow our guide and breathe new life into your kitchen’s air circulation system.
If the DIY path feels daunting, consider the efficiency and peace of mind that professional assistance can provide. Call Wired Air at 0429 612 624 and discover the ease of professional assistance.

This article explains how a smoke extractor fan works, why it is essen

A kitchen ventilation fan is often overlooked in many homes and commer
 Optimized by Seraphinite Accelerator
